We are building a pedestal dining table. The top is a mathematically true ellipse with a correspondingly curved apron. The lengths of the major and minor axes of the ellipse describing the tabletop are 68” and 50.”
To build the curved apron, we needed a laminating form. To build the form, we needed an elliptical pattern that is smaller than the tabletop by the overhang and the thickness of the apron. Because we are laminating half the apron at a time and will be joining the halves, we needed a pattern for half the shape.
To draw an ellipse, I plot points, a method described in basic drafting texts and on several websites. On ¼” plywood, I drew two concentric semi-circles: one with a diameter of the length of the major axis of the top less the overhang of the top and the thickness of the apron and one with a diameter of the length of the minor axis identically reduced. To draw large circles in the shop, I make a trammel, a stick with a hole for a pencil and holes for a nail.
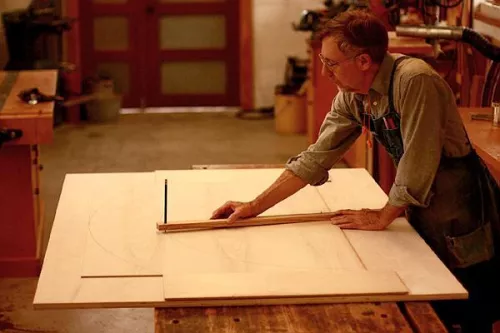
From the center of the drawn circles, I drew a number of radii through the two circles. From the points where any given radius crosses the circles, lines drawn perpendicular to the associated axis will cross on the ellipse.
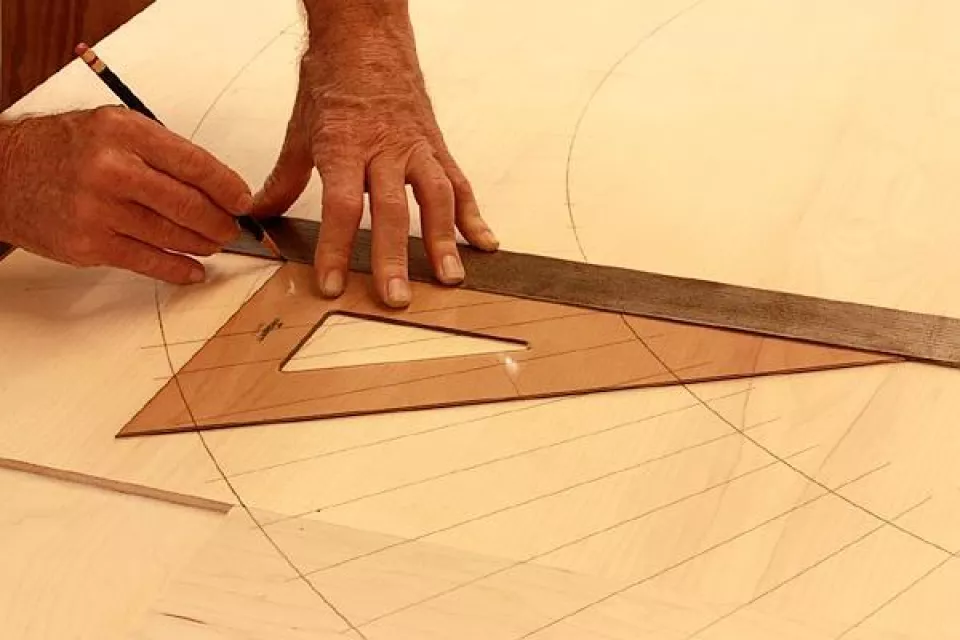
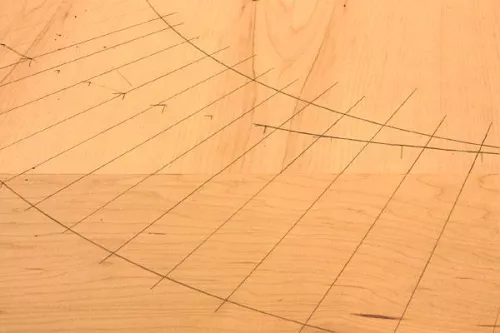
I drew the ellipse by connecting the points with a smooth curve.
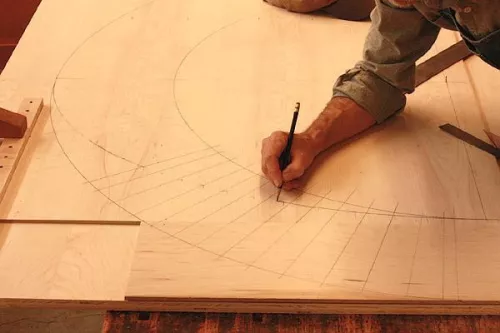
We cut outside this drawn line and edge-sanded down to it. Then I cut an equidistant curve with a router and fence to make a pattern for the laminating form.
I fit scraps of plywood in random butt joints, sawed them oversize, and glued and nailed them into four layers, making sure the rough construction was larger than the pattern.
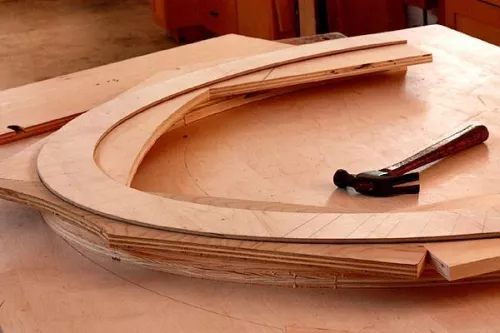
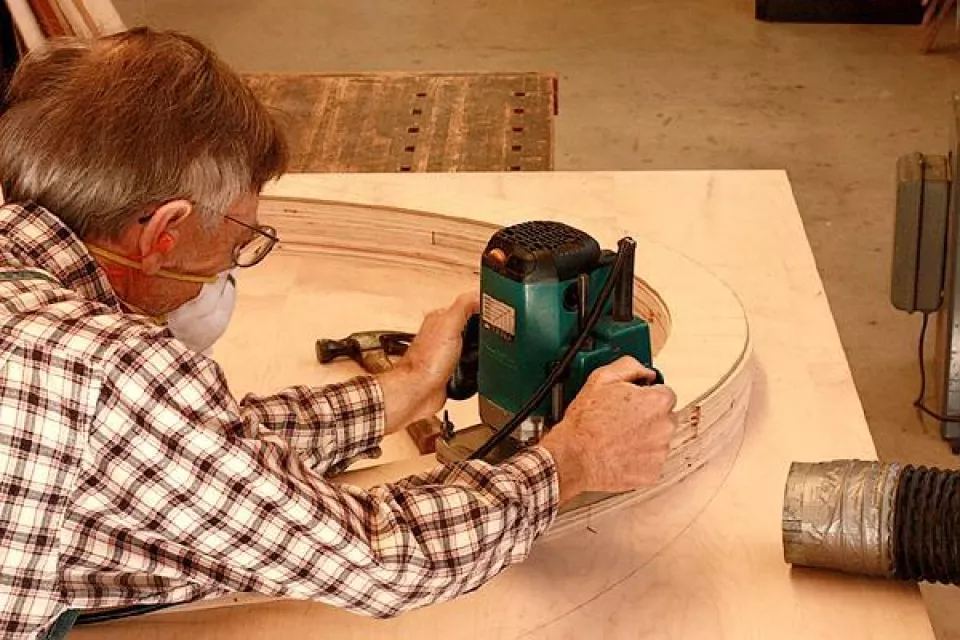
Using the pattern as a guide and flush trim bit (bearing on top) in the router, I cut half the stack down to the pattern. Then I flipped the stack over and routed the other half true with another flush trim bit (bearing on bottom). We had the form.
