I have rarely been satisfied with the photographs of our furniture. We try to capture the sculptural form and wood figure of the individual pieces isolated on a backdrop, and we try to capture the “presence” and utility of the furniture by shooting pieces or sets in a setting. The expense of engaging professionals and the time spent getting the furniture to them and assisting them motivated me to buy some equipment and do it myself. For the last ten or twelve years, I have accepted my own work — accepted, though aware of the weaknesses.
This week, I broke through from reluctant acceptance to a certain satisfaction — and with some more practice and development, I might reach pride. The breakthroughs came in lighting the piece and lighting the backdrop in a studio shoot of a Mitchell Trestle Table.
As before, I set up a “studio” in the living room, moving the furniture to the corners, hanging a backdrop from a long, wooden light fixture, and placing the flash stands. I like the look of the furniture against a white backdrop, but this complicates things, gray or a color would be easier. It is hard to keep that backdrop white in the photo. Light bouncing off the furniture onto the backdrop will tint it — cherry tints pink, walnut tints lavender. To cover the tint, it is necessary to overexpose the backdrop by adding a backlight flash or two. Enough light to overexpose the backdrop will bounce back across the furniture, erasing the wood figure in areas and “wrapping around” to highlight the edges. I have “accepted” a degree of tint in the backdrops and some wrapping around of the edges, and probably always will, but we figured out how to reduce both.
Another major hurdle is lighting the piece. Furniture has nooks and crannies. It is easy to get too much light in places and make “hot spots” and not get enough light in the shadows to show the wood. Again, we figured out how to reduce both.
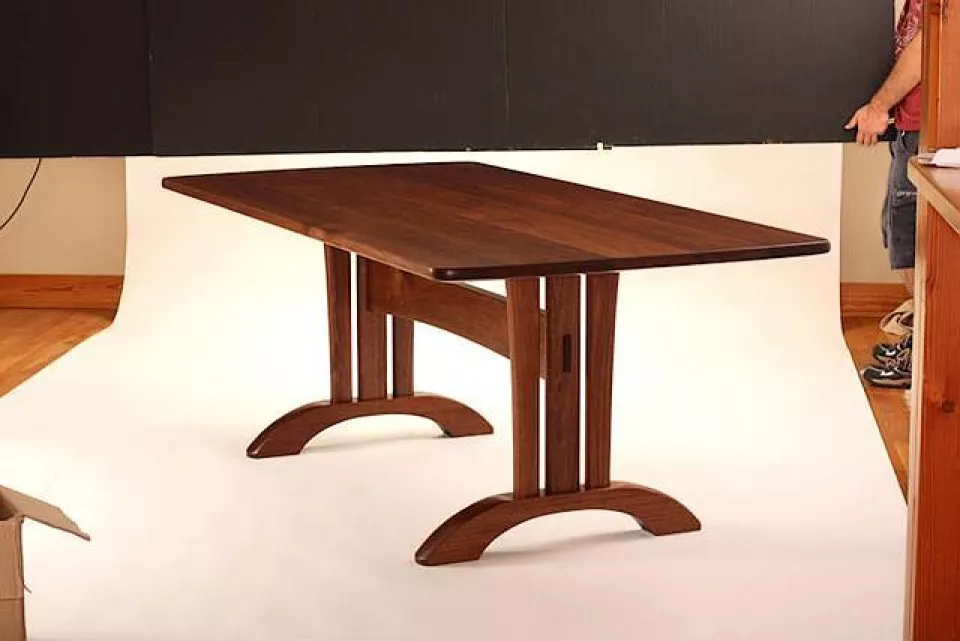
This is the first photo we took as a test. As we had done many times, we set a flash on a side to “wash” the backdrop, a main flash for general exposure, and a subsidiary flash to light the shadows. You can see pink in the backdrop and the almost loss of figure in the tabletop. There are a number of photos on the website and in the catalog with these defects.
In preparation for this shoot, we painted some cardboard sheets flat black. The next photos show the effects of holding the cardboard behind the table and lowering it to baffle the light. The location of the backlight is different in these photos also. We hung it flat against the backdrop aiming down. You can see that the “glass-top” look has been eliminated, but there is not enough light on the top to show the wood.
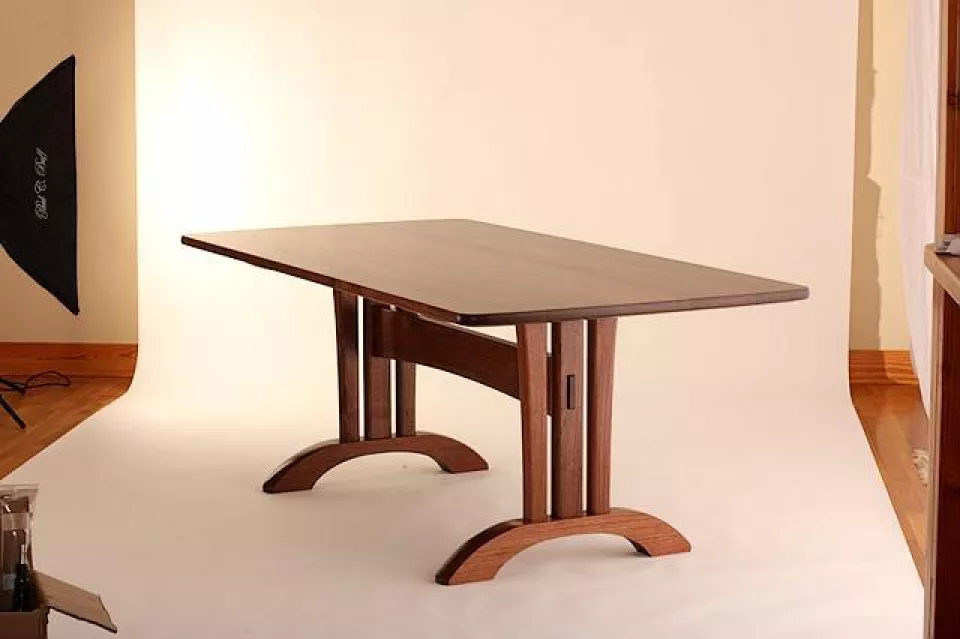
So we worked with the main and the subsidiary lights. We raised the main light and lowered the subsidiary, bouncing light from it off a reflector on the floor. Another innovation: we hung a parachute cloth diffuser all along the right side of the table and backdrop instead of using a softbox as before. This reduced hot spots and made a more even and pleasing light, without flattening the piece. I have found that if the light is too soft, it removes dimension and any dramatic effect. This photo is getting there. It needs, among other light improvements, a cropping and the digital recreation of white above the table.
Changing to a wide-angle lens, I took a picture of the set-up. You can see the parachute cloth to the right. The main light is about 3 feet behind it and six feet high.
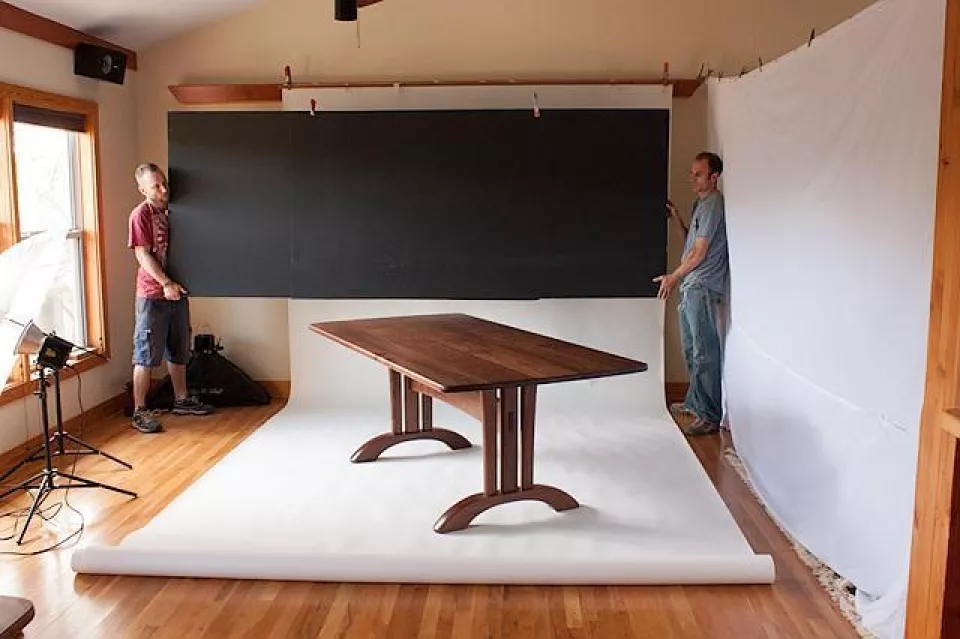
Notes: The camera is a Canon Rebel xsi. There is a ring flash on the camera at the tripod. The exposure is ISO100, F8 at 1/250. The lens is a prime 50, 1:1.4. It seems to me that zoom lenses distort furniture, and true lines are critical. The lights are Alien Bees. Seeing these results, we are going to build three sturdy, flat black panels (1/8” plywood laminated to a each side of a frame) that can support themselves in various ways. I ordered another light to go behind the baffles.